
 |
| Celery mid-planting, before being covered |
Celery loves poorly drained soil, so it's a great plant to put in that part of your garden where the drainage just isn't good enough for most vegetables. If you have to container garden celery, then it's content in containers that don't offer the drainage most plants need.
Celery is fine with dappled shade, but it will need at least 4-6 hours of sun, so don't hide it away in the shade completely. It loves cool temperatures, so if you live in the hot south (zones 8-11), you may not want to plant this outside.
Step 2: Put soil in a container, preferably one with a bit of room above the soil level and around it. dig depressions in the soil about 2 inches deep.
Step 3: Plant the celery bottoms in your soil. Tamp the soil gently around the celery bottoms. Then, add soil to cover the celery stalks so that they're covered with about an inch of soil (pictures of this later). Then water them.
Step 4: Take care of your celery as it grows. If you live in any zone up to 7 (that's most of the U.S.), then you can move them outside after the last frost. If you're in a warmer zone, you may want to keep these guys as indoor plants.
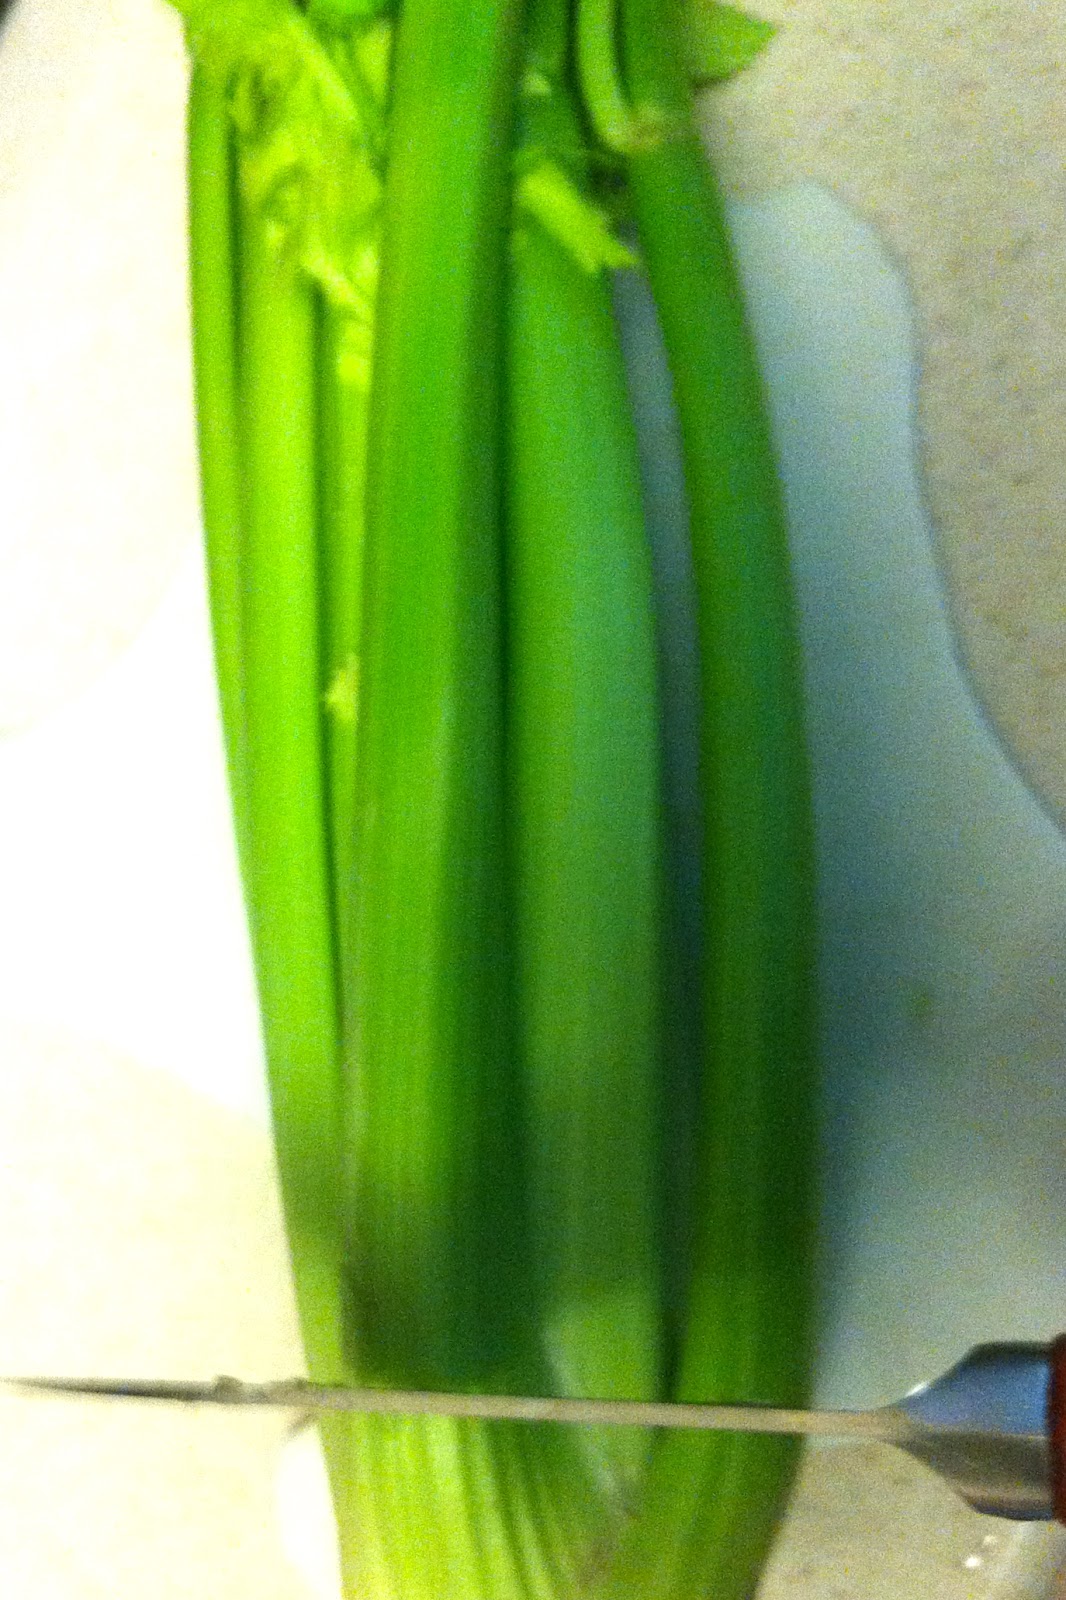
Step 5: Harvest when the stalks look ready to eat by cutting them off. Don't yank up the plant because it will continue to grow and you can keep harvesting until the first frost.
No comments:
Post a Comment