
Garlic prefers soil with good drainage and lots of fertilizer. The earlier you can plant cloves, the better because they take a while to grow, and since they're pretty hardy, they can handle freezing weather. So, fall is a great time to plant, but early spring will do. I start mine in February--here's how
 |
| don't use these tiny inner cloves |
Step 1: Set aside some cloves. It'll be tempting to use the tiny inner ones, but your best garlic will come from those big ol' outer ones, so bite the bullet and sacrifice a few. Use the rest to make dinner.
Step 2: Put soil in containers with good drainage. Your soil doesn't need to be fancy potting soil, and if your soil is clay-like, mix some sand in--just make sure that it's clean (I know it sounds oxymoronic, but there are often tiny unhelpful bugs and bacteria in dirty sand).
If you're planting in your garden (garlic can handle frost, so go for it), make sure you have great drainage. If not, then it's better to use containers. If you live somewhere really cold, such as Canada or the U.P., then add mulch above fall-planted garlic.
 Step 3: Plant cloves 2" deep in the soil (measuring from the bottom of the clove). If your clove is really big, plant it deeper. The point is to get the entire clove under the dirt. Only put 1 clove in each pot. Water them thoroughly.
If you're planting cloves in your garden directly, then make sure the cloves are about 6" apart. It will seem too far, but trust me, you'll need it.
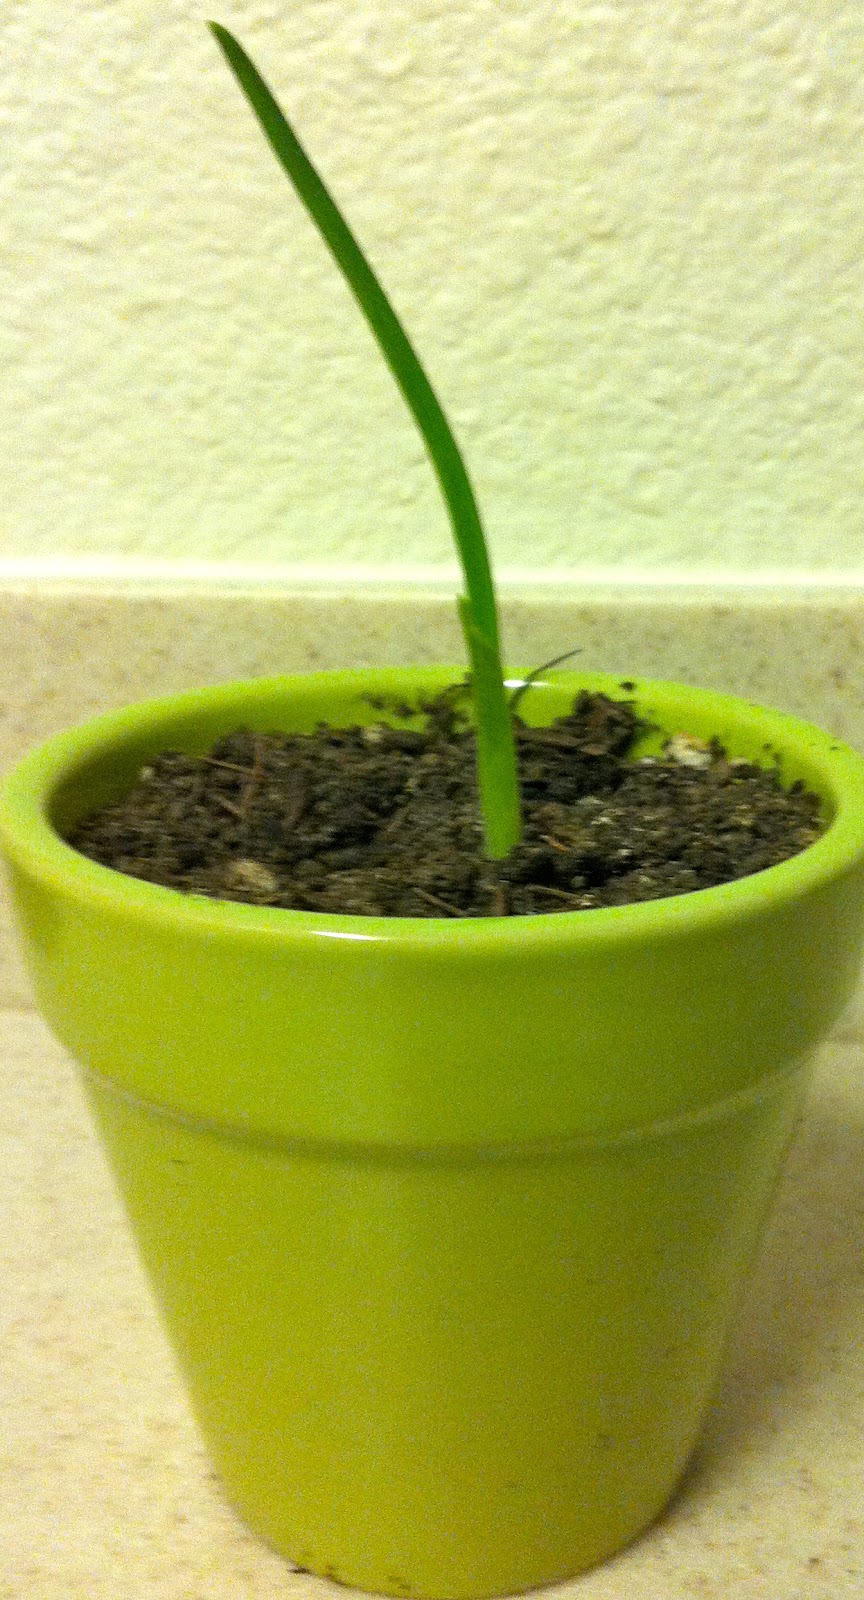
Step 4: Put the containers in a sunny window. Continue to water and keep the soil very damp until green shoots come up. If the cloves already had green shoots at the time of planting, keep the soil damp for a week to let them get comfortable.
Step 5: Once the garlic is established, water only when the soil is really dry. The pots shown here were great for starting the garlic, but after about a month, it will need a larger pot.

Step 6: Now wait. Garlic grows slowly, but it's well worth the wait. Fortunately, it doesn't need a ton of extra nurturing during that time. If you live in a very cold area (think Canada cold), you will need to bend the stalks/leaves down in the late summer to convince the garlic it really is time to start ripening--the process takes weeks, so it's important to remember this.
Step 7: The leaves turn yellow in the fall when your garlic is ready to be harvested. Dig up the bulbs and let them rest in the sun for a few days to dry out. Then, store them in a dry place.
Be forewarned, garlic from the garden is much more flavorful than what you buy in the grocery store. You may need less of it or notice that the flavor is different than what you're used to if this is your first garlic crop.
No comments:
Post a Comment